Bokashi in an apartment: a beginner's guide to starting this winter
A sealed bucket under the sink that takes meat and leftovers without a garbage smell: bokashi has a lot going for it in an apartment. But what comes out is not compost, and it has to end up in soil, which gets complicated when the ground is frozen. Here is how to start this winter, from the first layer of peels all the way to spring.
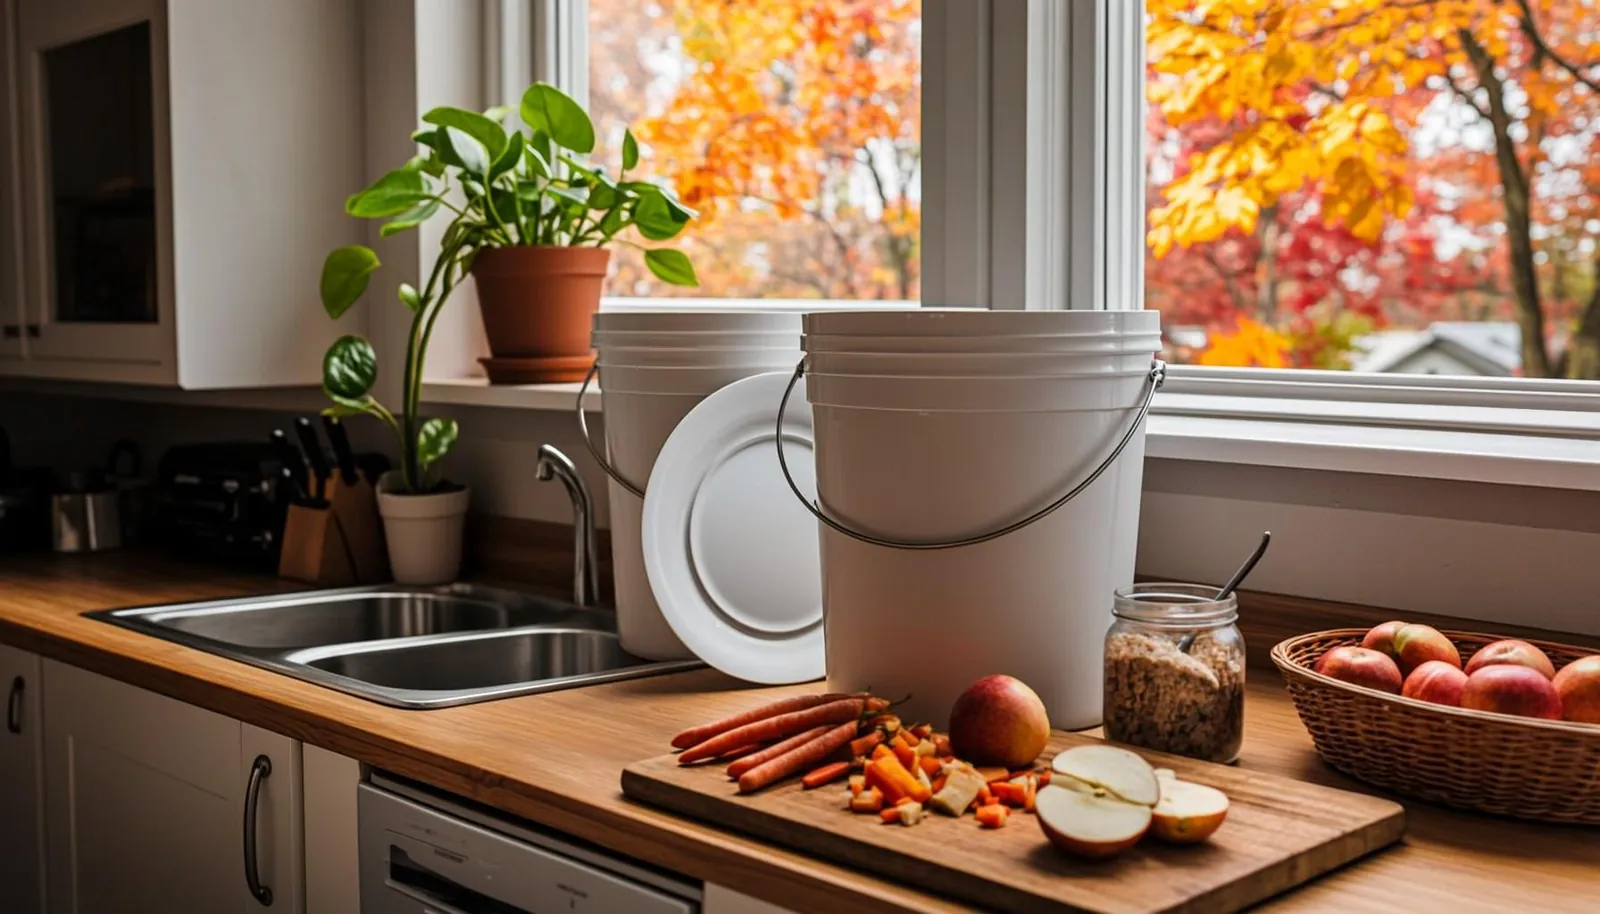
You live in an apartment with no yard, and you would like to stop throwing your peels in the garbage. Bokashi comes up a lot in the advice: a sealed bucket, a bit of bran, and almost all your scraps go in, even meat and cheese. But what comes out of the bucket is not compost: it has to be buried or mixed into soil. In Quebec, once the ground freezes, that takes a plan.
For an overview of other methods, read our tips for making the most of organic waste. If you are torn between a bucket and an electric appliance, our article on whether electric composters like Lomi and FoodCycler really make compost compares the options side by side.
Bokashi in a nutshell: fermentation, not compost
Bokashi is fermentation without oxygen. You put your scraps in a sealed container, sprinkle them with bran (wheat bran or rice hulls) inoculated with microorganisms, mainly lactic acid bacteria, yeasts and phototrophic bacteria, then press them down and close the lid. According to Washington State University (WSU) Extension, these microbes make the food ferment instead of letting it rot. After two weeks, your peels still look like peels: that is normal.
The result is an acidic, biologically active pre-compost, WSU explains: it has to be mixed into soil or finished in a composter, never spread on the surface like mulch. According to the University of Saskatchewan, the system needs indoor space, full buckets must be emptied a few times a year, and it works best for people who have occasional access to a garden or a composter. If your city already takes all your scraps in the brown bin and you have no plants, bokashi adds a step with little benefit.
And what about the famous "effective microorganisms"? In a four-year field trial in Zurich, researchers found no difference between these living microorganisms and the same products sterilized. The small effects observed came from the nutrients in the bokashi, and the authors concluded that, in this trial, the products improved neither yields nor soil quality. Bokashi is a practical way to keep your scraps without a rotting smell, not a miracle fertilizer.
Equipment: a sealed bucket (ideally two), bran and a plate
- A bucket with an airtight lid. Fermentation happens without air; WSU stresses a clean gasket that seals well.
- A way to drain the liquid. Bokashi buckets have a drain plate at the bottom and often a small spigot. Otherwise, the University of Saskatchewan suggests 5 to 8 cm of dry sawdust at the bottom to absorb the excess.
- A second bucket, to start while the first one, full, ferments.
- Bokashi bran, store-bought or homemade. According to WSU, if it smells musty or of nothing rather than sour, replace it.
- A plate that fits snugly in the bucket, to press the scraps down and push out the air.
For location, the City of Vincent, in Australia, suggests the counter or under the sink, away from sun and heat, which are among the causes of a bucket gone bad. Cold is a problem too: WSU puts the ideal temperature at about 18 to 29°C, because cold slows the microbes down. A balcony in January is therefore no place for a fermenting bucket.
What goes in the bucket, and what stays out
This is the big advantage of bokashi over backyard composting and vermicomposting: it takes almost all kitchen scraps. According to WSU, the University of Saskatchewan and Redland City Council, in Australia, you can add fruit and vegetables, cooked leftovers, bread, pasta and rice, coffee grounds, tea, eggshells, meat, fish, small bones and dairy products.
What stays out, according to Redland: liquids (milk, juice, water), large bones, food that is already rotten or mouldy, food contaminated with chemicals, dog and cat excrement, and packaging such as foil or plastic wrap. WSU adds soups and sauces.
Three habits help. Cut large pieces into 5 to 8 cm chunks, which pack down better. Add a little extra bran with meat, fish, eggs and cheese, as Vincent advises. And if the contents turn slimy because of fruit or leftovers, WSU suggests adding bran, shredded paper or cardboard. To know what to put where, composter or brown bin, see our article on the kitchen scrap bin.
Step by step, and how long it takes
- Set up the bottom: drain plate and spigot in place, or a layer of dry sawdust.
- Add a layer of scraps about 2.5 cm thick and sprinkle 1 to 2 tablespoons (15 to 30 mL) of bran, a small handful, according to the University of Saskatchewan.
- Press and close. Press the layer down with the plate, close the lid tightly, and open the bucket rarely and briefly.
- Drain the juice every few days (see below).
- Repeat until the bucket is full.
- Let it ferment, full and closed: at least 2 weeks according to the University of Saskatchewan, 10 to 14 days according to WSU, 10 to 15 days according to Vincent, which advises draining the juice every other day. Meanwhile, you fill the second bucket.
To judge success, WSU recommends relying on the sour smell, white mould and softened texture, not on appearance.
| Stage | Time given | Source |
|---|---|---|
| Fermenting the full bucket | 10 to 15 days, at least 2 weeks | WSU, Vincent, University of Saskatchewan |
| Fermented bucket kept closed | Several months | University of Saskatchewan |
| Drained juice | Use within 24 hours | Redland, Vincent |
| Indoor bin of soil | 3 to 6 weeks; scraps dissolved after about 6 weeks | WSU, University of Saskatchewan |
| Wait before planting after burial | From 2 weeks (warm soil) to 6 to 8 weeks | Redland, WSU, University of Saskatchewan |
Juice and odours: how to read your bucket
The juice (leachate): drain, dilute or discard
As they ferment, scraps release a liquid called bokashi juice or "tea." WSU recommends draining it every few days to prevent odours, and daily if the contents turn slimy. Vegetables produce the most; little or no juice is not a problem, Vincent notes.
The juice does not keep: use it within 24 hours. To water plants, you have to dilute it, and the sources disagree. Vincent suggests about 1:100. Redland recommends 1 teaspoon (5 mL) per 2 to 3 litres of water for garden beds and potted plants, which works out to roughly 1:400 to 1:600. For houseplants, start with the more diluted version and pour it on the soil, never on the leaves, which the juice can burn according to Redland.
Nothing to water? Most of the guides consulted suggest pouring it undiluted down a drain or the toilet. Not in the brown bin: in Montreal, for example, liquids are not accepted.
Odours, moulds and flies
A healthy bucket smells sour: pickles, cider vinegar, a bit like beer. According to the University of Saskatchewan, you should only notice the smell when you open the bucket.
- White, cottony mould: a good sign. It often appears within a few days.
- Green, black or blue mould, or a rotten, sulphur or ammonia smell: the fermentation has gone wrong. Usual causes, according to Vincent: not enough bran, a loose lid, air pockets, undrained juice, sun or heat. WSU advises immediately adding a generous layer of bran, pressing firmly, draining daily and checking the gasket. If mould takes over the bucket, empty it and start again.
- Fruit flies: air is getting in, often because the lid is opened too often or does not seal (WSU). Sprinkle bran right after each addition and clean the rim.
- Bulging lid: fermentation gases, especially with fruit and bread. Release the pressure briefly; according to WSU, it is nothing serious if the smell stays sour.
Finally, do not let your dog or cat eat the fermented contents: Vincent warns that it can be harmful to some pets.
Winter in an apartment: what to do with the bucket when the ground is frozen
Your bucket ferments in two weeks, but nothing gets buried before the thaw. The University of Saskatchewan offers three winter options: an indoor bin of soil, storage until spring, or an outdoor composter. Here in Quebec, the brown bin and community composting can be added to the list. You can combine them.
An indoor bin of soil
This is the most self-sufficient solution, and WSU recommends it specifically for apartment dwellers and for winter: in a large storage tote, mix 1 part bokashi with 3 parts soil or finished compost, keep it moist but not soggy, and wait 3 to 6 weeks. The University of Saskatchewan works in layers, with garden soil rather than sterile potting soil; it advises checking after 2 weeks and expects the scraps to be dissolved after about 6 weeks. The resulting soil can then be used in pots or in the garden. The challenge: finding soil in January. Stock up this fall, before the freeze.
Closed buckets until spring
A full, tightly closed bucket can wait several months, according to the University of Saskatchewan. Simple, but you need enough buckets to last until the thaw, and they must stay closed: WSU reminds you never to leave bokashi exposed to air. As for the balcony, be careful: we found no reliable source on how freezing affects a bucket that has already fermented. When in doubt, keep your buckets away from frost.
A friend's or relative's composter
If a friend, a relative or your building has an outdoor composter, your bucket can go in even in winter, as the University of Saskatchewan notes. WSU advises burying it in the centre of the pile when possible, balancing it with browns (leaves, straw, cardboard) and covering it well; Vincent mentions a layer of soil or mulch on top. For winter composter care, see our complete composting guide.
The brown bin, if your city accepts it
Check first. In Montreal, the official list accepts raw, cooked or mouldy food, including meat with bones, solid dairy products and grain products, but it does not mention bokashi. It refuses liquids and soil: so no juice, and no mix already made with soil. In Quebec City, food waste is collected in purple bags. RECYC-QUÉBEC's "Ça va où?" app asks for your municipality and tells you which bin to use, and our article on the brown bin from one city to the next explains these differences.
Community composting
In Quebec City, there are 32 community composting sites, all managed by the organization Craque-Bitume. To take part, you must register, attend a training session and commit to a few hours of volunteering. The City's page does not say whether bokashi is accepted: ask before bringing your bucket. Vincent also suggests giving your bokashi to a gardening friend or a community garden. More ideas in our article on community and urban composting.
In spring: bury it without burning your plants
Once the ground thaws, dig a trench 20 to 30 cm deep (WSU; at least 30 cm according to Redland). Spread 2.5 to 5 cm of bokashi in it, mix it with at least two to three times that volume of soil, cover completely and firm lightly, without concentrating too much in one spot. Bokashi is acidic at first: it neutralizes in 7 to 10 days according to Redland, and Vincent says to keep roots away from it early on.
Before planting, sources vary: at least 2 weeks for Redland; 2 weeks in warm soil, 3 to 4 in cool soil and 4 or more in containers for WSU; 6 to 8 weeks for the University of Saskatchewan. If your soil is still cold, aim for the top of the range. Without a yard, Vincent suggests large balcony planters or your building's shared green spaces, with the manager's approval. It also says you can add some to a worm bin, in small amounts at first: see our guide to indoor worm composting in a condo.
A realistic plan for a first winter: two buckets taking turns, a bin of soil prepared this fall, and a friend's composter or the brown bin, if your city accepts it, for the overflow. In spring, you bury the rest.
Sources
- Bokashi Composting, Washington State University Extension, Kitsap County, 2026.
- Bokashi composting (indoor method), Gardening at USask, University of Saskatchewan, with the Saskatchewan Waste Reduction Council, 2022.
- Bokashi bins, Redland City Council (Australia).
- Using Bokashi (fact sheet), City of Vincent (Australia), 2015.
- How effective are 'Effective microorganisms (EM)'? Results from a field study in temperate climate, J. Mayer, S. Scheid, F. Widmer, A. Fließbach and H.-R. Oberholzer, Applied Soil Ecology, 2010.
- Quoi déposer dans le bac brun (what goes in the brown bin; in French), Ville de Montréal, 2026.
- Compostage communautaire (community composting; in French), Ville de Québec, 2026.
- Ça va où? (app listing), RECYC-QUÉBEC.
Frequently asked questions
Does bokashi smell bad in an apartment?
Not if it works properly. A healthy bucket smells sour, like pickles or vinegar, and the University of Saskatchewan notes that the smell should only be noticeable when the bucket is opened. A rotten, sulphur or ammonia smell signals a problem: add a generous layer of bran, press firmly and drain the juice more often.
Can you put meat and cheese in a bokashi bucket?
Yes. Unlike a backyard composter, bokashi accepts meat, fish, small bones and dairy products. Add a little extra bran with these foods. Avoid liquids, large bones and food that is already rotten or mouldy, though.
How do you dilute bokashi juice for plants?
Recommendations vary: about 1:100 according to the City of Vincent, in Australia, and 1 teaspoon (5 mL) per 2 to 3 litres of water for potted plants according to Redland City Council, a much weaker mix. Start with the more diluted one, pour it on the soil rather than the leaves, and use the juice within 24 hours.
What do you do with bokashi in winter if you have no yard?
You can mix it with garden soil in a large indoor bin (about 6 weeks), keep the buckets tightly closed until spring, empty them into a friend's or relative's composter, or put the contents in the brown bin if your city accepts it. Check with your municipality before emptying your bucket there.
Do bokashi microorganisms really improve soil?
The evidence is thin. In a four-year field trial in Switzerland, living microorganisms did no better than the same products sterilized, and the small effects observed came from the nutrients in the bokashi. See bokashi as a practical way to manage your scraps, not as a miracle fertilizer.